What's in my seed packet?Each seed packet comes with 50 hand picked seeds of various Zinnia varieties! I chose Zinnia's because they are my favorite thing to grow in my own flower garden and absolutely perfect for the beginner or expert gardener! Wether you are keeping these flowers for your own happy pollinator's and picking them for your own enjoyment, or selling them at farmers market, these are always top favs! Starting your flower seeds:So first thing's first, you need to determine what zone you are in before you can customize and see what planting dates are best for you! I'll insert a pic of the growing zone map below or you can google what growing zone your town is in. I am in growing zone 7A in central Oklahoma and I also have a greenhouse I prefer to start seeds in, so for me my schedule looks like this: last week of March - start seeds in bags in window first week of April - plant seeds in greenhouse containers first or second week of May - transplant from container to in ground middle of May - start picking flowers (leaving some for pollinators) June - getting a decent amount of flowers a week, enough to supply a small market July & August - flowers coming out the wazoo...seriously can't pick them fast enough September - SO MANY FLOWERS October - they slowly stop producing November - plants are dried and seed harvesting can begin  I recommend looking up your zone or town's typical last frost date and then you'll have a great idea of when to start your seeds and can start making a plan! If you're direct sowing, I recommend planting in ground a week after your last frost date just to be safe! If you are start seeds indoors and then transferring outside, I recommend starting indoors 3 weeks before last frost date and planting in ground at least a week after your last frost date. I'll go over that a little bit more... You have a couple of options for planting. Zinnia's are great to direct sow if that is the route you decide to take. I have many friends who direct sow into the ground after the danger of frost has passed and they have great success with it and have sold thousands of flowers at market from planting this way. However, I have a greenhouse and prefer to use it. A perk of that is I am able to start my seeds indoors ahead of time and by the time they are sowing their seeds in ground, I am planting a full & hardy plant in ground, making it's chances of survival better & will be harvesting blooms in a week or two! If you don't have a greenhouse, you can always start seeds indoors and keep them under a grow light or in a windowsill in containers, as long as you have the space for it! Either way you choose to plant, is totally up to you! How to start seeds indoors:If you follow me on Instagram, @mikayla_beth, you can check out my highlight "Seed Starting" for more of a visual of what I am describing here. I prefer starting my seeds in clear plastic sandwich bags! It's a way I've found works really well for me. It improves germination rate, you can visually see the progress, and it's super fast to do! Just take a paper towel, run it under water, then ring it out where it is overall damp. Open your seed packet and sprinkle the seeds evenly across the paper towel. Fold the towel in half (where the seeds are on the inside) and in half again, making a small rectangle. Place the seed filled paper towel in the clear sandwich bag and zip up. Label the bag "zinnias" and that days date. Then tape it to a window that gets a lot of light. Super easy! In just a few days you will notice roots beginning to form and growing rapidly! You can open the bag to peek in the papertowel and check on progress if you need to. In a week or less you should notice the 2 leaf sprout form. When this happens, it is super important to transplant right then! If you let it sit in the towel too long after the 2 green leaves appear, it will mold fast and die. Transplanting is easy but can be a little time consuming. To transplant, you'll need good quality soil (my absolute FAVORITE is FoxFarm BushDoctor cocoloco potting soil! seriously the best ever and you can get it on amazon!) then you'll need small pots with drainage holes (I also get these in bulk super cheap on amazon, searching under small greenhouse pot/container). You'll fill up your small pots with soil, poke your finger in the soil to make a hole, carefully open your paper towel, very gently pull out each sprout, and place it in the hole where the top leaves are just above the soil and the root is totally covered, press the soil around it and water it/mist it gently. Super important to be careful with the sprout at this stage, as it is very delicate. You'll place it under a grow light/in greenhouse and daily monitor and gently water/mist each seedling making sure the soil is totally saturated, until a week after your last frost date and then your plants will be ready to place in ground! Planting in ground:It's a week after you last predicted frost date for your area! Wether you decided to direct sow your seeds, or you started plants indoors and you're now ready to move them outside, it's time for them to go in ground! For direct sowing, it's pretty self explanatory, in an area where the ground has been worked and there is no grass or weeks growing (wether you plant them in your flower bed, or in a tilled garden area) you'll just plant those seeds into the dirt, keeping you spacing a foot apart in all directions for best growth! Soak your soil and watch the magic happen! Continue watering each day and make sure to keep grass and weeds out of the area. I do this by using DeWitt brand weed tarp I got from Amazon and cut holes where you want your plants to be! For transplanting your zinnia plants in ground, you'll want to put them in an area where the ground has been worked and there is no grass growing (example: tilled garden area or flower bed). Like I stated above I personally till, then lay out my weed tarp and cut holes where I want my plants and it is an extremely effective way at controlling weeds. Space each plant 1 foot apart in all directions. These plants grow BIG and quickly. Last year by June my plants were almost 5ft tall! Each plant will produce hundreds of beautiful blooms! Be sure to keep the area weed and grass free, and water once a day completely saturating the soil! Supporting our farmI just wanted to say thank you again for purchasing our seed packets. I really appreciate each and every one of you who supports our farm and all of the money from these packets go to our homestead, helping buy animal feed, supply our farm with materials for fencing, and helping me continue having access to teach others to live more self sufficiently!
We couldn't do this without you! I pray these flowers grow and do wonderful for you and I hope they bring you so much joy, like they have brought to me! In times of overwhelm I enjoy running to the garden with my cup of coffee and watching the hundreds of pollinators they bring in. I enjoyed picking them and sharing with friends that were on my mind that day, taking them a basket I thrifted with a fresh sourdough loaf and fresh picked zinnias. I enjoyed having way too many flowers to even know what to do with so I threw a "coffee and cut flower" party one morning with ladies from my church. They brought vases, I made coffee, and we all went out and picked flowers and had good fellowship. I would absolutely LOVE to see your cut flower garden photos, your bouquet photos, and hear how they bring you joy! Please connect with me on Instagram @mikayla_beth and feel free to share with me there anytime! HAPPY GARDENING!
0 Comments
Hey friends! If you are reading this specific post it probably means you've purchased our sourdough starter & are looking to rehydrate and use it! I first want to say thank you so much for supporting our little homestead & I can't wait to see all the delicious things you make with this! Please tag me on instagram @mikayla_beth in your pics of yummy sourdough goodies so I can see & share them! If you are looking to purchase a dehydrated sourdough starter from us, you can contact us through instagram (@mikayla_beth) or on our farm's Facebook page "Herrmann Homestead". Rehydrating your Starter:DAY ONE - MORNING Place 5 grams of dried sourdough starter to a small glass jar. Add 25 grams of warm water & stir. Cover & let sit for one hour at room temp. (I like to cover with a tea towel or coffee filter & a rubber band to secure to jar) After an hour has passed, add 20 grams of UNBLEACHED flour & stir with a wooden spoon to combine. Cover and let sit for 24hrs. *It's very important to use unbleached flour for your starter. Using bleached it will not rise & fall properly and you won't get an active starter to make that desirable airy loaf! DAY TWO - MORNING The mixture will look smooth, not very bubbly. Combine 10 grams starter mixture (discard the rest), 25 grams unbleached flour, & 25 grams warm water. Cover and let sit for 24hrs. DAY THREE - MORNING Most likely mixture will still appear more smooth than bubbly/lively. Combine 10 grams starter mixture (discard the rest), 25 grams unbleached flour, & 25 grams warm water. Cover and let sit for 24hrs. DAY FOUR - MORNING You'll notice the mixture to be a little more bubbly, by this evening it may even begin to rise & fall. Combine 10 grams starter mixture (discard the rest), 25 grams unbleached flour, & 25 grams warm water. Cover and let sit for 24hrs. DAY FIVE - MORNING At this point, the mixture should have nearly doubled in volume and there will be small and big bubbles throughout the mixture. Allow starter to reach peak activity before proceeding with a feeding. You'll want to continue with daily feedings: Combine 10 grams starter mixture (discard the rest), 25 grams unbleached flour, & 25 grams warm water. Cover and let sit for 24hrs. How to use an active sourdough starter:Once your starter is looking very bubbly & rising and falling everyday, it is ready to use! You'll want to use it when it is at it's peak. Also, you can make SO MANY THINGS from your sourdough discard, so don't just throw it away! MY FAVORITE SOURDOUGH BREAD RECIPE: *Makes 2 loaves* Ingredients 1 Cup + 1 TBSP Starter 3 Cups + 1 TBSP Warm Water 6 Cups + 3 TBSP Unbleached All-Purpose Flour 2 TBSP Salt 1 • When starter is at it's peak of rising, mix starter with water until milky. Add unbleached flour & mix really good for 2-3 min. Cover bowl & let sit for 2 hrs. 2 • After the two hours, add salt. Wet your hands, pinch in the salt, then stretch the dough up & fold over (sort of kneading in the bowl) for 3 min. Cover and let sit for another 2 hrs. 3 • After 2 hrs, dump out the dough, & divide if you’re making multiple loaves. Wet hands again, stretch out the dough into a square shape on a clean counter. Fold in thirds into a rectangle shape, roll it up, and push it away from you then pull it towards you (building tension in the loaf, shaping it into a tight ball. 4 • Leave on the counter uncovered for 20 min. then gently repeat shaping process in step 3. Move loaf to parchment paper and put into a bowl in the fridge for 1-2 hrs. 5 • Preheat dutch oven to 450°F. Take loaf out of fridge & out of bowl (try to keep touching the loaf to a minimum and handle by the parchment paper) Sprinkle a little flour on top & score loaf. With parchment paper still under, place into the dutch oven. 6 • Bake for 20-30 min in covered dutch oven, then bake uncovered for another 15-20 or until browned on top. Remove from dutch oven and let cool for at least 30 min before slicing. Enjoy! What if I don't want to feed my starter & make something every day? If you want to take a break from your starter, you can simply put your jar of starter in the fridge & take it out once a week to feed it! When your ready to use it again, just take it out of the fridge, let it warm up to room temp, feed it & let it rise again. What do I do with the discard?You can combine your daily discards in a jar in your fridge for up to 2 weeks. Personally, that's what I like to do and I use that when I want to make pasta, granola, crackers, muffins, pancakes, waffles, cookies, pizza crusts, flat breads, or add instant yeast to it and you can make a different type of loaf that your traditional sourdough. Basically anything that doesn't need to rise, you can use your discards for!
 I've recently teamed up with 8 amazing homesteading women to create this Beginners Guide to Homestead Living eBook! I got it printed into an actual book last week & LOVE having it on my coffee table to look at & refer back to, to learn more about homesteading!
With several different topics covered, it has lots of helpful tips & info for those just starting homesteading or those who have been striving for a more self sufficient lifestyle for years! Click the button below to sign up for my newsletter & get your FREE copy of the eBook!  Hello friends! I’ve had an abundance of goats milk lately so I’ve been trying lots of fun new recipes! Today I made goat milk butter & it turned out delicious! You can use whatever herbs you’d like but I used fresh rosemary from my garden! Ingredients1 Cup Cream from Goats Milk 1 TSP Garlic Powder Herbs & Salt to taste Mason Jar  DirectionsFirst you’ll need to separate the cream from your milk. If you have a cream separator, you can use that, BUT I do not. So I just used a spoon & carefully skimmed the cream off the surface of my milk that had been refrigerated for about 4-5 days. The older the milk the more it separates & there will be a thick layer of cream on top! Not hard to separate at all!
Put that cream into a mason jar, seal the lid tightly, & shake for about 15-30 min. {I took this time to watch a short show on Netflix! Makes the time fly by!} After a while you should start to feel a ball of butter forming in the middle when you shake the jar. Once there is clearly a ball of butter in the middle of the buttermilk, carefully pour the buttermilk out {SAVE THIS STUFF, It’s delicious & has several uses but makes the best ranch!} Gently rinse the jar with the ball of butter in it with cold water, pour out the water, & continue to do this until the water runs clear. Put butter in small dish & mix in salt, garlic powder, & desired herbs. Refrigerate for about an hour until it hardens. Enjoy!! If you try this recipe out, let me know how yours turns out by posting & tagging @mikayla_beth on Instagram or using the hashtag #HerrmannHomestead! :) 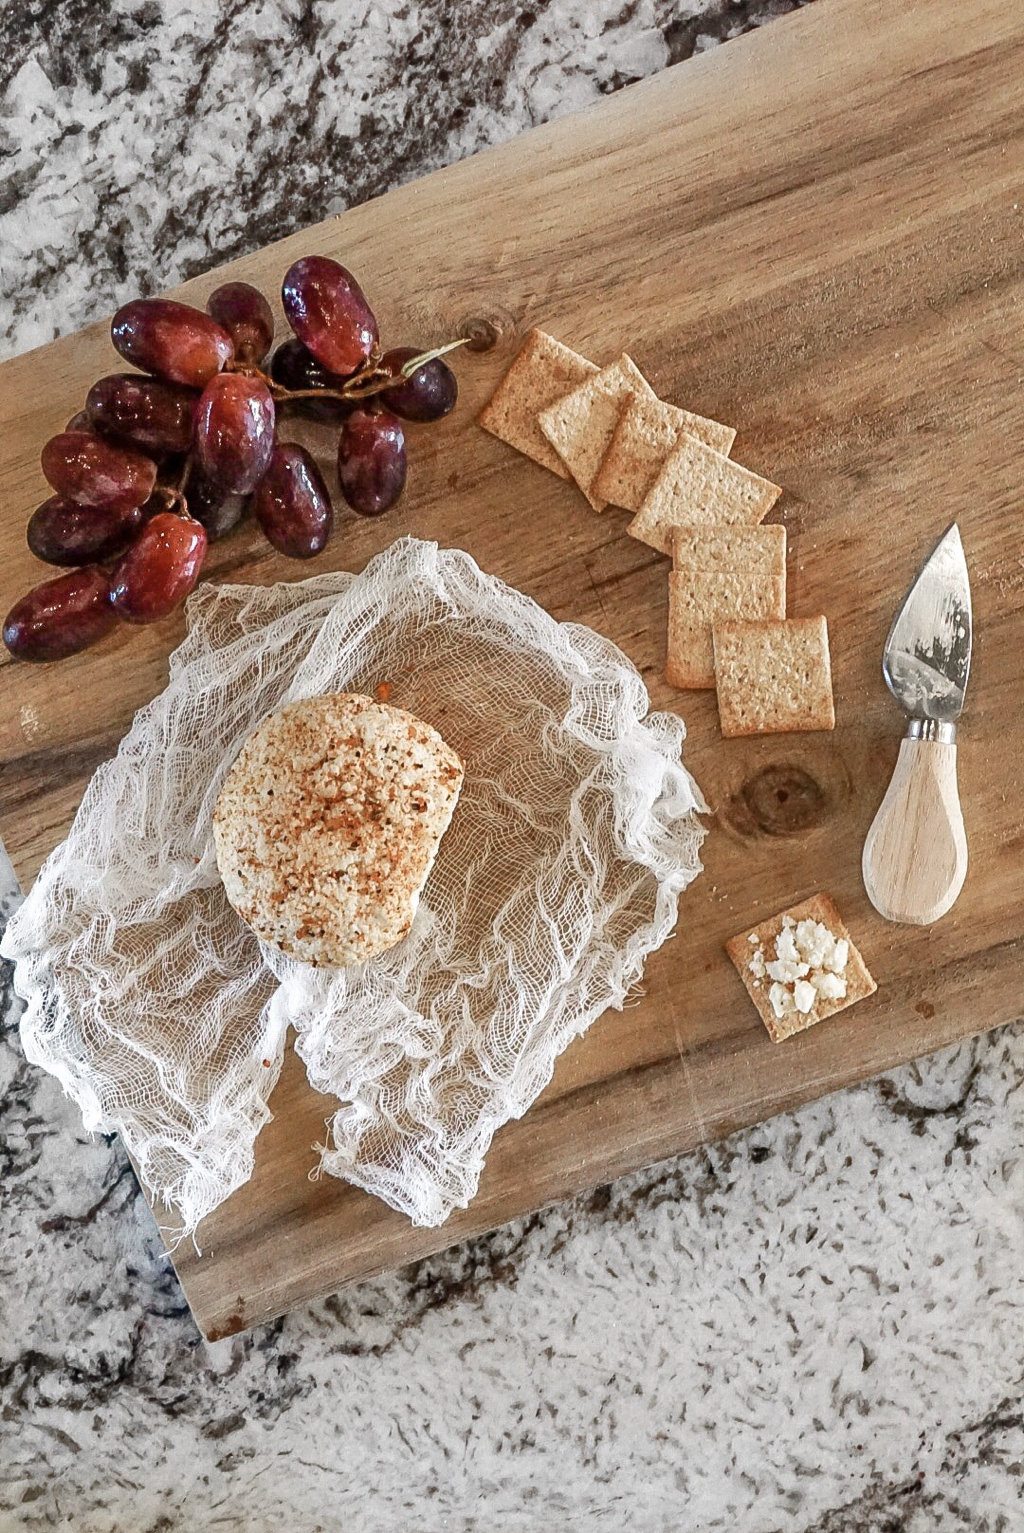 Hey friends! So I’ve finally started milking our Nigerian Dwarves! I’ve been getting about a pint a day & I've been kinda overloaded with goat milk! I’ve seen SO MANY awesome ideas & recipes and cheese making has definitely been on my list for a while! So I decided to give it a shot. After researching a lot, I found that typically when making cheese you use this thing called, “Chèvre starter”, BUT I do not have a chèvre starter or access to get one quickly, SO I found a recipe that used vinegar & lemon juice instead. There’s a whole science behind it, but I won’t get into that. Basically, the acid separates the water & proteins! Kinda cool! I modified the recipe I found & I think it tastes DELICIOUS! Ingredients1 Quart Goats Milk 1/4 Cup Lemon Juice 2 TBSP White Vinegar 1/2 TSP Salt 2 TSP McCormick Roasted Garlic & Herb Seasoning Cheesecloth Thermometer 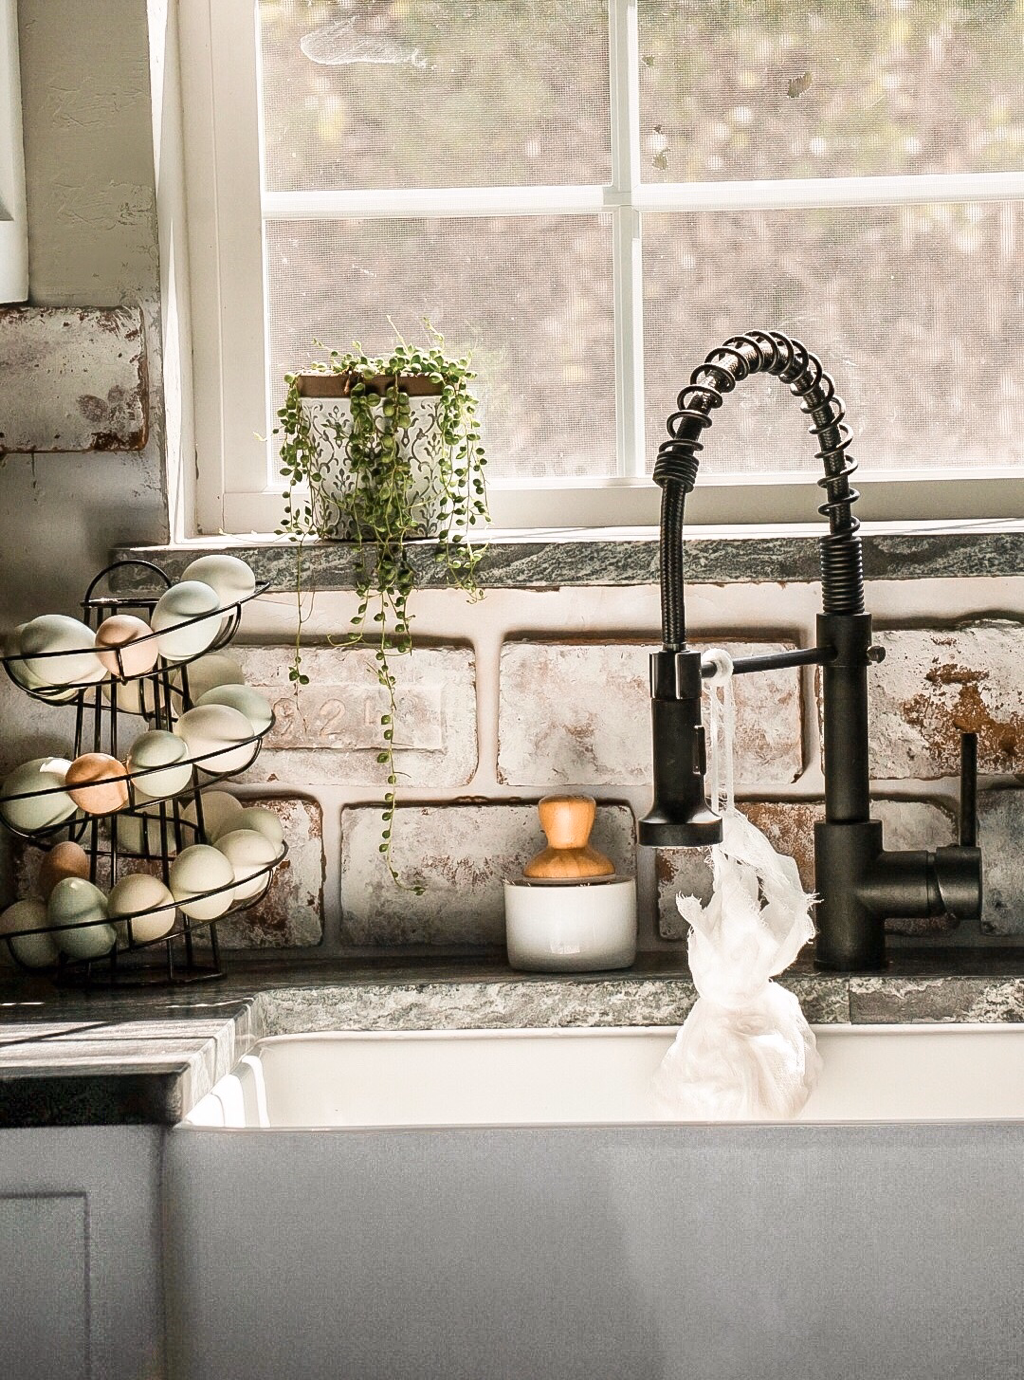 DirectionsIn a large pot, add cold goats milk. On medium heat, stir until goats milk reaches 175-180F degrees. Milk should begin curdling but not boil. Remove from heat & add lemon and vinegar. Stir, and let sit for 5 min. While the milk is separating, set a colander lined with 4 layers of cheese cloth over a bowl. Slowly pour curds & whey into colander. Let drain for at least 10 min. Remove the cheese cloth & suspend with a knot over sink {pictured above}. Let cheese drain for at least 1 hour. DO NOT SQUEEZE. Dump curds onto a plate & gently knead in salt & seasoning with your finger tips. {Mine was very crumbly at this point} Dump curds into 2 layers of plastic wrap, twist TIGHTLY into a circle shape. Place in fridge for 24 hours & enjoy! {If you want to crust it in herbs also, which I did, place in fridge for 2 hours, take it out & unwrap it, roll it carefully on a plate with seasonings & wrap back up. Place back in fridge, & let it sit for the remaining 22 hours.} Hope you enjoy this recipe! If you try it out, tag me on Instagram @mikayla_beth & use the hashtag #HerrmannHomestead! 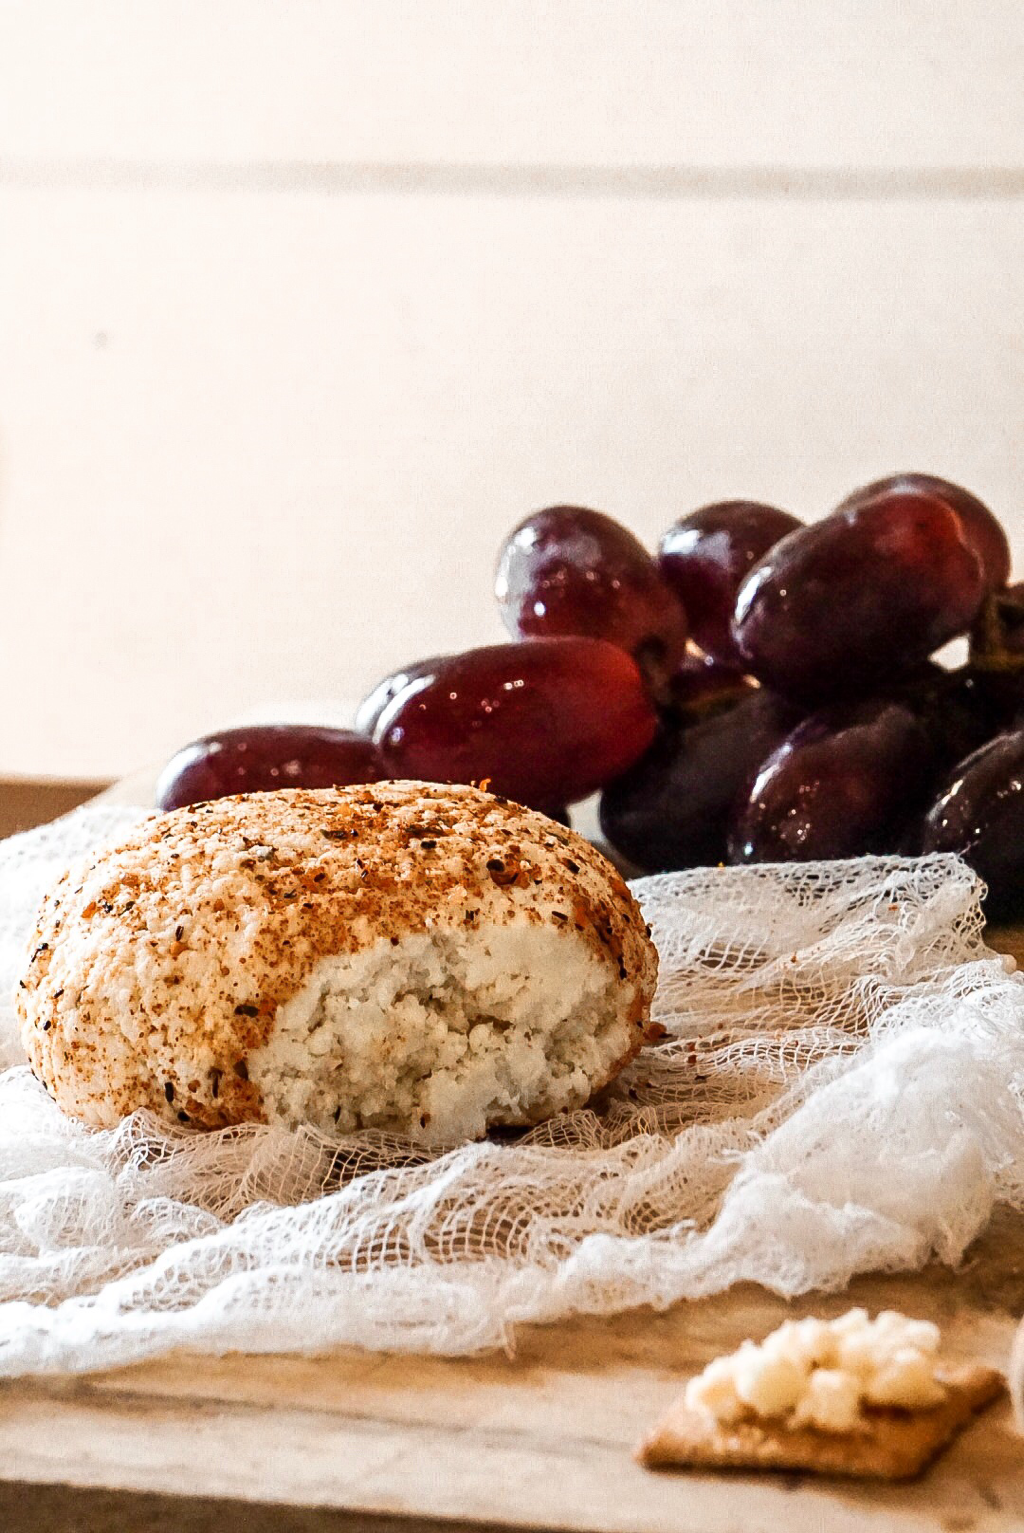 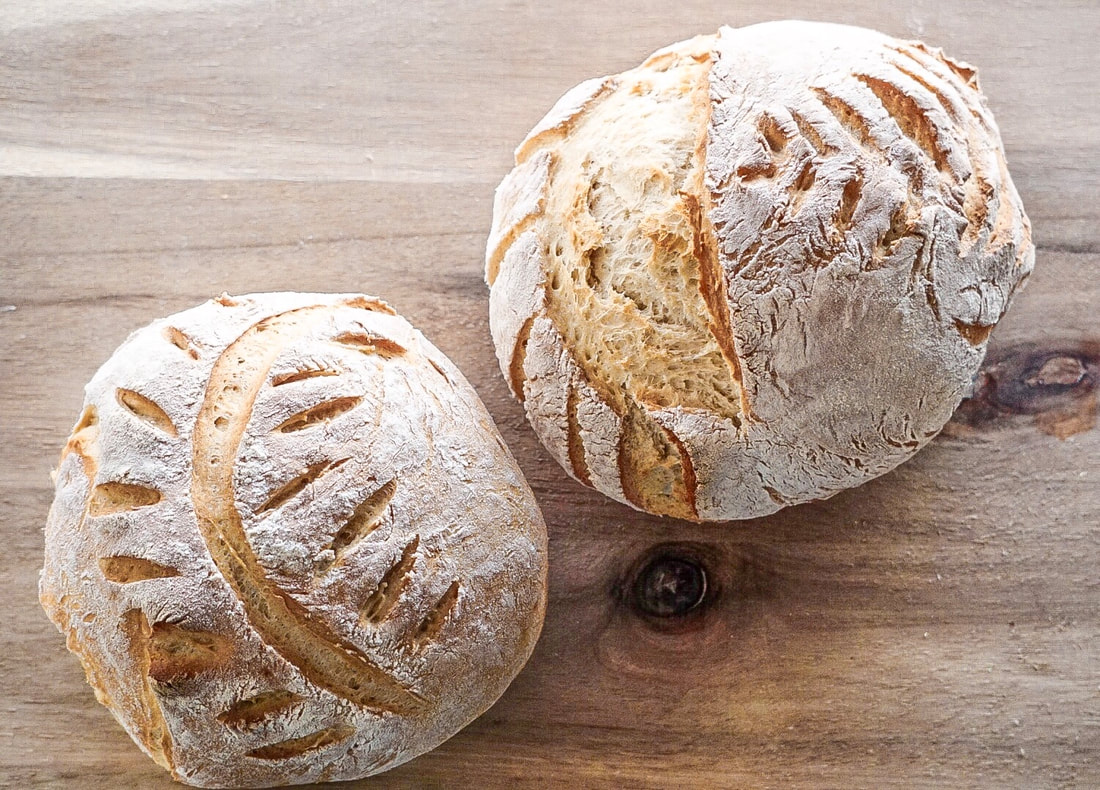 Hello friends! I've been MIA for a bit, we took a trip to Europe in the fall & have gotten a bit off schedule on blogging but am hoping to get back into it! During our trip I tried SOOO many delicious pastries + breads and it really got me interested in baking bread! I found this recipe for a country loaf online & modified it a little bit to what worked the best for me! Also, I got a bread lame for Christmas this year & let me tell you it is a life changer if you are trying to make designs on your bread! I tried it with a knife several times and it just never turned out great at all...(I may have cried because of how ugly my bread was...lol) BUT after using a bread lame I can 100% tell a difference and can make designs easily! I hope you enjoy this recipe & if you try it out tag me on social media, or use the hashtag #HerrmannHomestead & let me know how you liked it! Ingredients5 cups Flour 2 tsp Sugar 2 1/4 tsp regular or quick active dry yeast 2 cups very warm water 2 tablespoons Olive Oil 2 tsp Salt DirectionsMix two cups of flour, sugar, and yeast in a mixing bowl. Now add 2 cups of warm water. Beat mixture for 1 minute until smooth. Cover bowl with plastic wrap and allow to stand 1 1/2 hours until bubbly.
Now add oil and salt. Mix in enough remaining flour 1/2 cup at a time until a smooth dough forms. Swap to dough hook and allow mixer to knead dough for 5-8 minutes. Or do so by hand until dough is smooth and springy. Place dough into a large bowl greased with shortening. Cover with wrap and allow to rise 1 hour or until double. Once risen, dump dough onto a lightly floured counter. I like to slice dough in half but this can be made into one giant loaf as well. Take one part of dough and gently shape into a ball by stretching the sides of the dough downward under the loaf to create a round, smooth ball. Repeat with second loaf. Place loaves smooth side up on a cookie sheet greased with shortening. Allow to rise 25-30 minutes. Heat oven to 425 degrees F. & lightly spray loaves with a cool water mist and sprinkle with flour. Use your hand to smooth flour evenly on loaf. Use a bread lame to “score” bread (have fun and get creative!). Place a metal pan 1/3 full of water on the bottom rack of your oven. This will steam while bread is baking which helps create a delicious crispy crust! An alternative option would be to simply toss in 5-7 ice cubes in the bottom of the oven that will steam while baking. Place pan or stone in oven and bake for 30-35 minutes or until loaf is deep golden brown with a crisp crust and sounds hollow when you tap on it. Allow to cool for a few moments, slice with a serrated knife, & enjoy! For several years, one of our friends ran a large chicken farm with hundreds of chickens and they recently decided to sell all of their chickens, coops, nesting boxes, ...ect. They called us one day and asked if we wanted their chicken guard dog, Lacy. And since we have had MANY chicken losses from Copper, we decided getting Lacy might be a good idea! She is a 6 year old Great Pyrenees! We have had her 2 weeks now and she is the sweetest, laziest dog around people and SO good around chickens + she's absolutely adorable!!  The day we got Lacy, we decided to introduce her to the goats. She has only been raised around chickens but has been friendly to all other people or animals she's came in contact with unless they try to hurt the chickens, so we figured why not! We put her in the goat pen and she did EXCELLENT with them. Never tried to hurt them or chase them, just laid around all day! However, the goats weren't too fond of her.
They had been previously traumatized by Copper (stinkin' dog)! BUT when it was feeding time, if a goat tried to get into her food, she was NOT okay with that and would bark at them and look real mean. She is sweet most of the time but doesn't share food...we have a lot in common. Haha! We decided it would be best to separate her from the goats so we built her & Copper pens right beside the goats and it had worked really well until yesterday... Oh man. Yesterday was one of THOSE days. You know the days where literally EVERYTHING that could possibly go wrong, goes wrong. The days where you think your life should be a sitcom! Do you ever have days like that? I'll give you the short version. Yesterday morning I woke up not feeling great & coughing a lot.Then Samuel needed my help so I drove a couple of miles to him,when suddenly I got this awful scary feeling. So I drove really cautiously & a minute later my tire light comes on. I get to Samuel, have him check it out. Sure enough, I need all new tires. They are all wore out! So we get home, eat lunch, realize our propane tank has a leak and we don't have any propane left. Our house was FREEZING! So I plug in a little electric heater. We have company coming this weekend and I realize I'm out of groceries & now don't have a car to get me there. I was also stressed out trying to pack for a big trip. So I decided I would just take a break, sit down to relax, warm up some leftovers, and chill out for a bit. I put my food in the microwave, and 30 sec into heating up my food the microwave shut off and quit working. I realized the house still seemed cold so I checked the little heater & it was also not coming on. LOVELY! What does all this have to do with Lacy you ask? Well, I looked out the window to check on the animals & Lacy was GONE! She had somehow gotten out of a small hole in the fencing and ran away!! She's very sneaky! I looked everywhere for her & she was nowhere to be found. Then Samuel calls & told me his work truck needs to be fixed & can't be driven. When it rains it pours! This morning I got up & we realized I blew a breaker! The microwave still works & the heater still works! And someone called me and told me they had found Lacy! Things are turning around for the better & now we've got Lacy back home & fixed the fence haha! These are the days I am thankful for. It makes me realize I am so blessed to have all of these things and a lot of people don't have a microwave, or heat in their homes, or a vehicle. It makes me grateful for the things I have!  Happy Fall Y'all! In celebration of my FAVORITE season, I decided to make these delicious pumpkin rolls! Growing up, one of our sweet family friends brought us pumpkin rolls every fall! I looked forward to them every year & they were one of my favorite desserts! I could seriously eat the whole roll!! Yesterday, I was really missing & craving them so I decided to try to make them myself & they turned out SO yummy! Ingredients:3/4 cup flour
1/2 tsp baking powder 1/2 tsp baking soda 2 tsp pumpkin pie spice 1/4 tsp salt 3 large eggs 2 tsp vanilla extract 1 cup granulated sugar 2/3 cup pumpkin puree powdered sugar to sprinkle at the end { Ingredients for filling } 1 brick of cream cheese at room temperature 1 cup sifted powdered sugar 6 tbsp softened butter 1 tsp vanilla extract Directions:Preheat oven to 375. Line a 15" x 10" or 17" x 12" jelly roll pan with parchment paper an extra inch hanging over the side so you can easily lift the cake out of the pan after baking. Whisk together flour, baking powder, baking soda, pumpkin pie spice, & salt in a large bowl. In a separate bowl, whisk eggs, vanilla, & granulated sugar. Add in pumpkin and stir until combined. Fold in the flour mixture with rubber spatula and stir until combined. Pour batter into pan and spread evenly. Bake for 13-15 min. Carefully lift cake out of pan onto a heat-safe surface then slowly roll up cake (with parchment paper still attached). Let cake cool until it's room temperature & while cake is cooling mix together ingredients for the filling. Once cake has cooled, unroll the cake & spread cream cheese mixture evenly over the cake. (TIP: If you leave about a 1/2 inch border without filling on all of the sides, it won't squish out when rolling it up!) Carefully re-roll the cake & peel off parchment. Wrap cake tightly in plastic wrap and refrigerate for 1 hour. Unwrap the plastic, cut off the very ends of the roll, dust with powdered sugar, & enjoy!!  You could substitute the pumpkin puree for actual pumpkin from your garden, which would be awesome! I hope to have pumpkins in my garden to make this recipe with next year! + I had a little pumpkin puree left over in the can after making this & I didn't really have another use for it. So I looked it up & 100% pumpkin puree or just a pumpkin itself is actually a great treat for goats! So I gave the leftover to them & they LOVED it. So if you have goats & some pumpkin leftover, you should treat them, as long as it's 100% pumpkin!
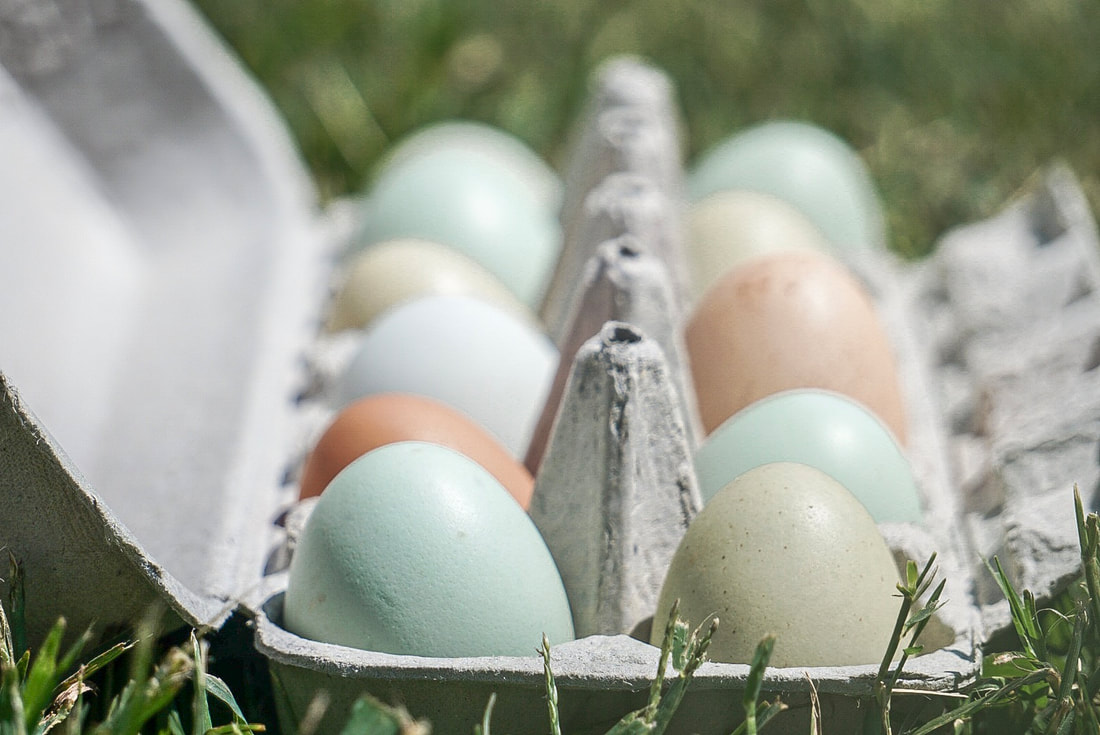
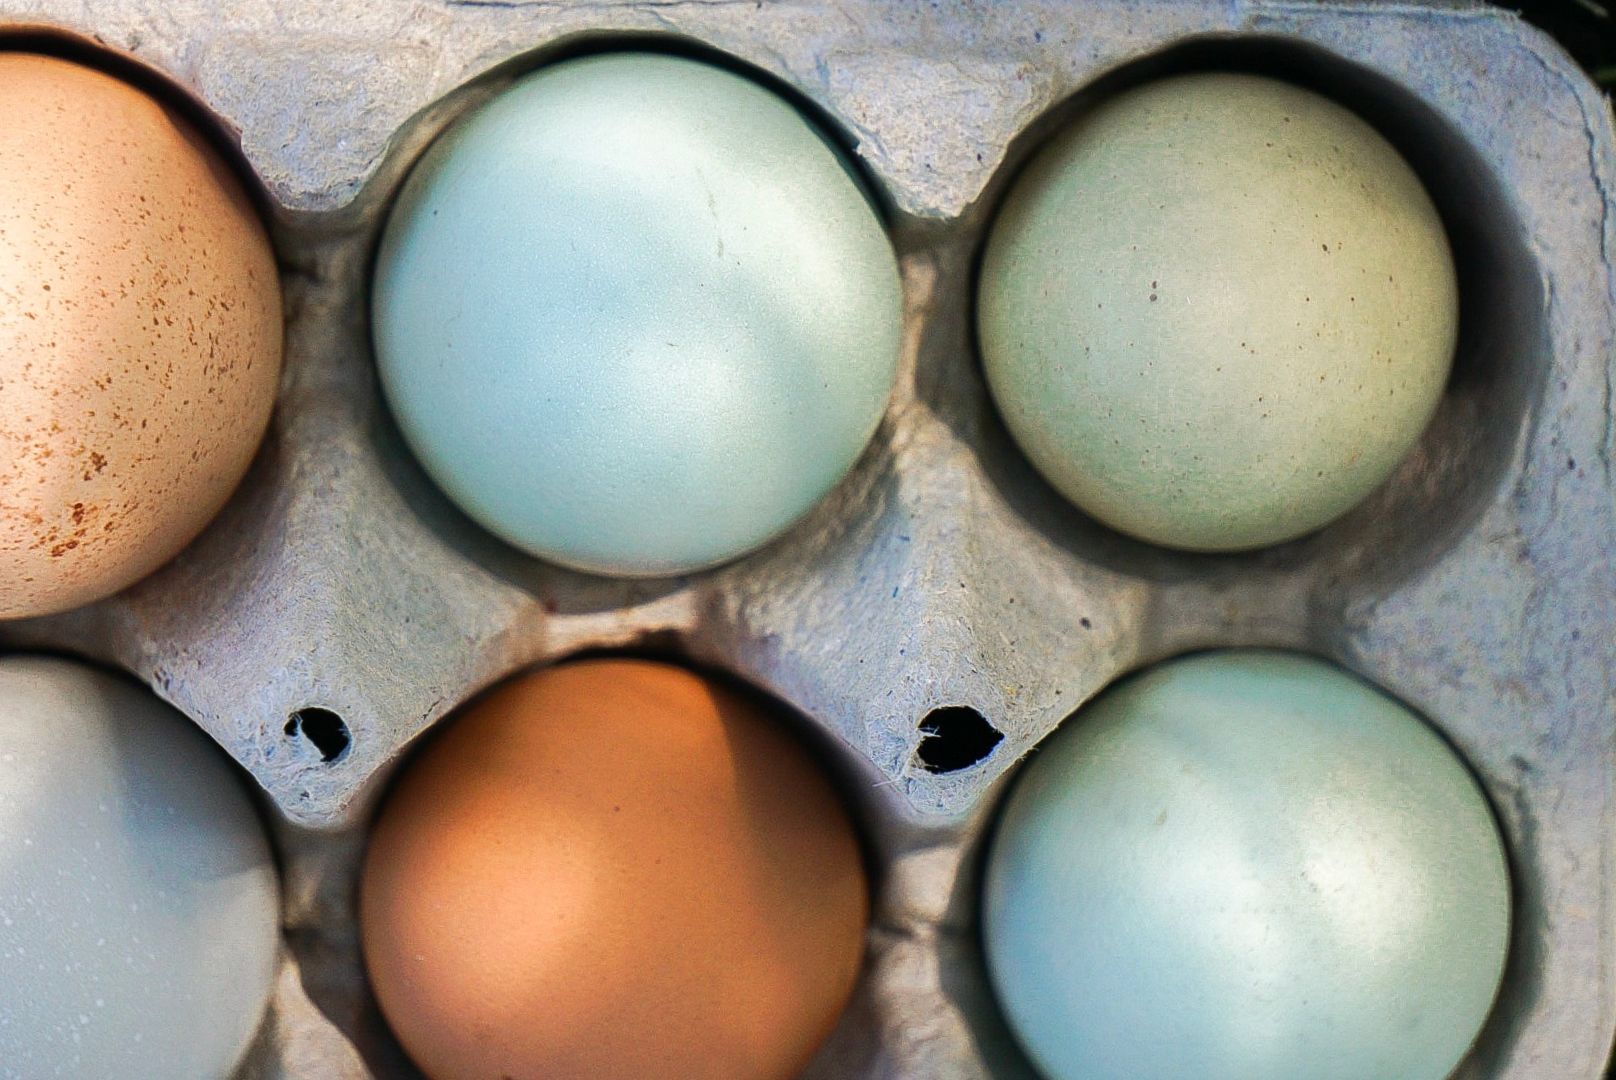
If you do make this recipe & post to instagram, please tag me @mikayla_beth or use the hashtag #HerrmannHomestead that way I can see it! I hope wherever you are, you have beautiful fall weather! Thanks for reading! :) -Mikayla 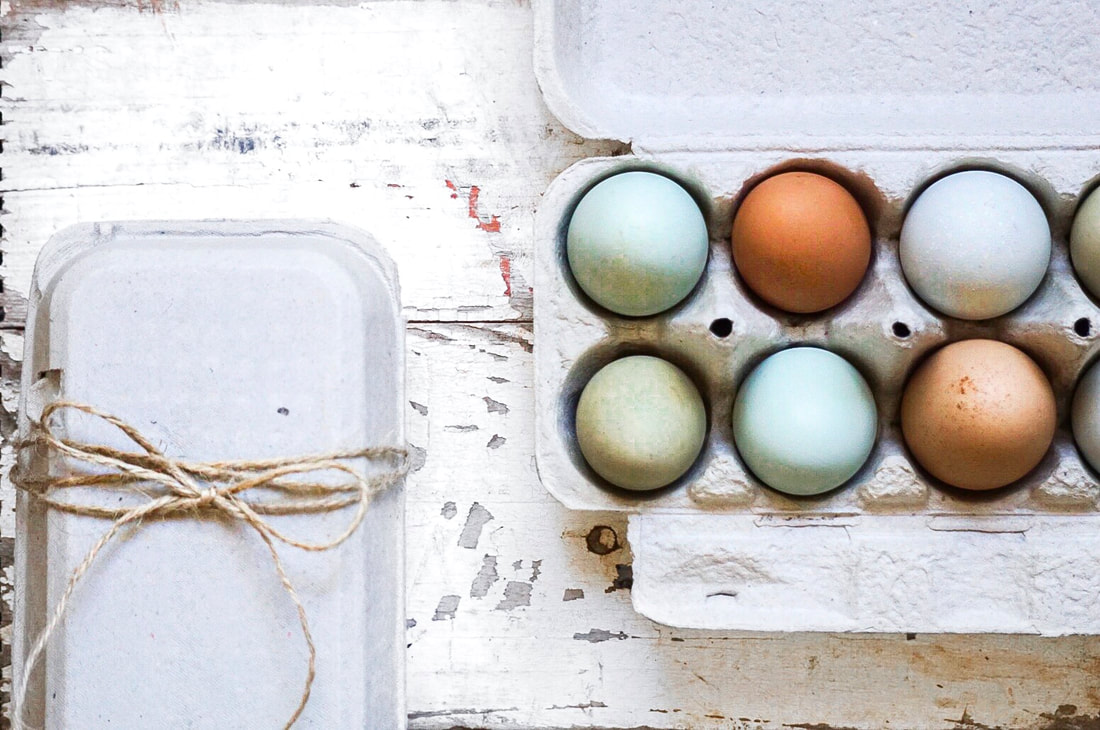 Our chickens finally started laying eggs a few weeks ago! It's the most exciting thing! One of my favorite parts of the morning is to go out and gather eggs & see what colors I've got that day. We have 4 Ameracaunas, 1 Cuckoo Maran, 1 Blue Laced Red Wyandotte, & 1 Easter Egger, so I am getting beautifully colored eggs! I've really enjoyed not having to buy eggs from the store anymore + these taste so much better and I know they are better for me! There is something about raising a week old chick for 6 months and then see them start laying eggs that is so rewarding! I feel like a proud grandma lol!
Even though I only have 7 chickens right now, I am getting enough eggs that I am starting to sell them, so if you are local & are interested in buying some, feel free to send me a message! :) I enjoy packaging them & making them look pretty for my friends, family, & customers! 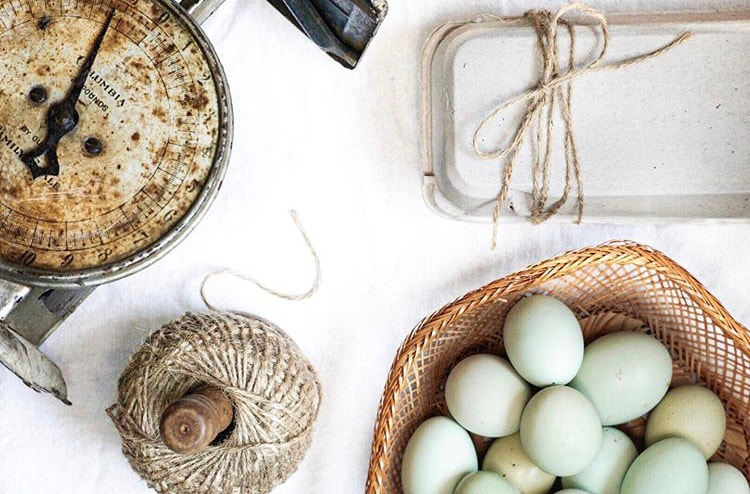 The "rainbow egg" trend has became pretty popular lately, especially on social media. But I am loving it! You can never have too many pretty eggs!! I am hoping to get a lot more chickens after we move into our house & it is getting closer & closer to being done everyday. We are making plans for a pretty good size chicken coop + goat pen that will give us a lot more space for my animal addiction! If you have chickens, I'm interested in learning about the different breeds that lay different colored eggs & what y'all prefer raising. So send me a message or leave a comment on what kind you have! Thanks for reading! :) -Mikayla {Herrmann Homestead} 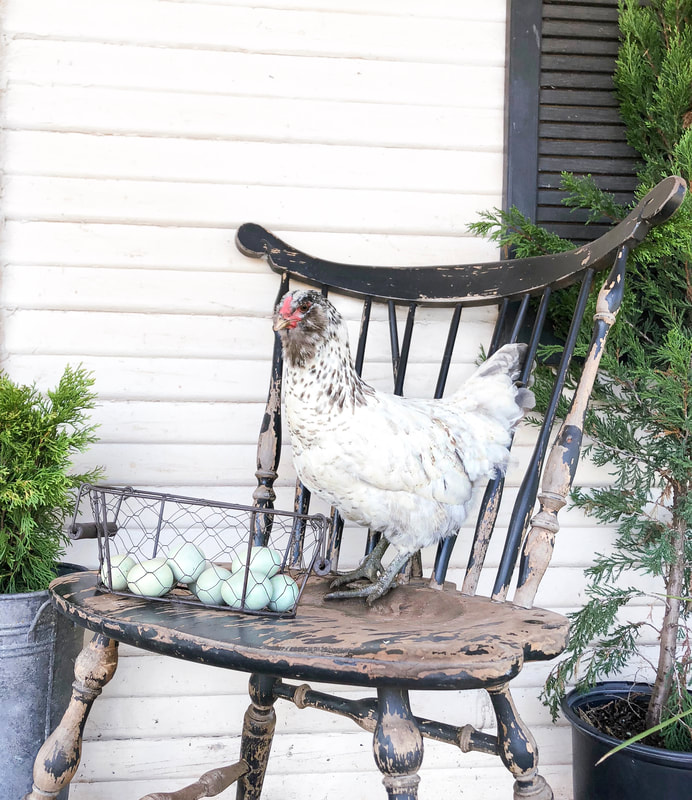 Easter Egger { Dee } 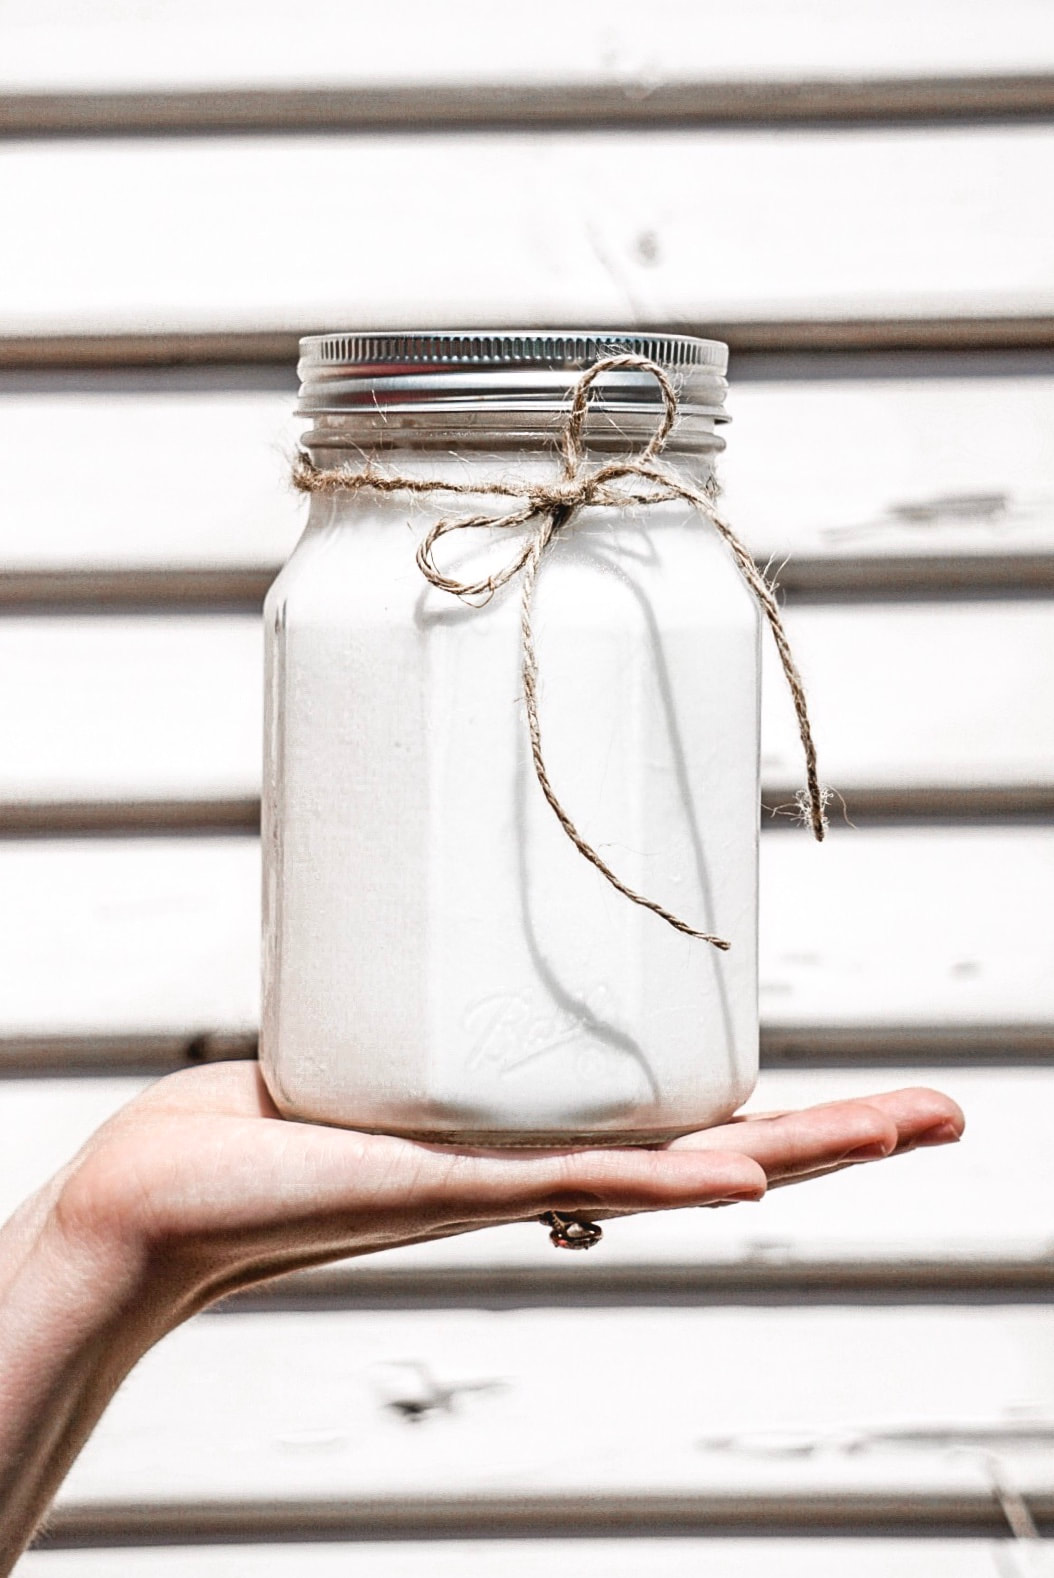 Hello friends! I decided to try a new recipe & put my own twist on it! I have had an instapot for about a year now and have used it a few times for making quick meals! Roast & potatoes, BBQ chicken, ect. But I noticed it had a yogurt setting and have wanted to try that out since I've gotten it! Last night , I finally did! And I am SO glad I did, I will never buy yogurt again! I learnt that, like bread, in order to make yogurt you have to have a starter. Which can be any kind of yogurt really, just as long as it has LIVE CULTURES! So I picked up my favorite kind of yogurt and used that {Chobani greek coconut flavored yogurt}. If you keep a little of the yogurt you make from your instapot, you can use that as your starter next time. {Also, I think you can use any kind of milk but I used whole} Hopefully this fall I will be able to milk my nigerian dwarves and use goat milk instead! So let me get right into the recipe! 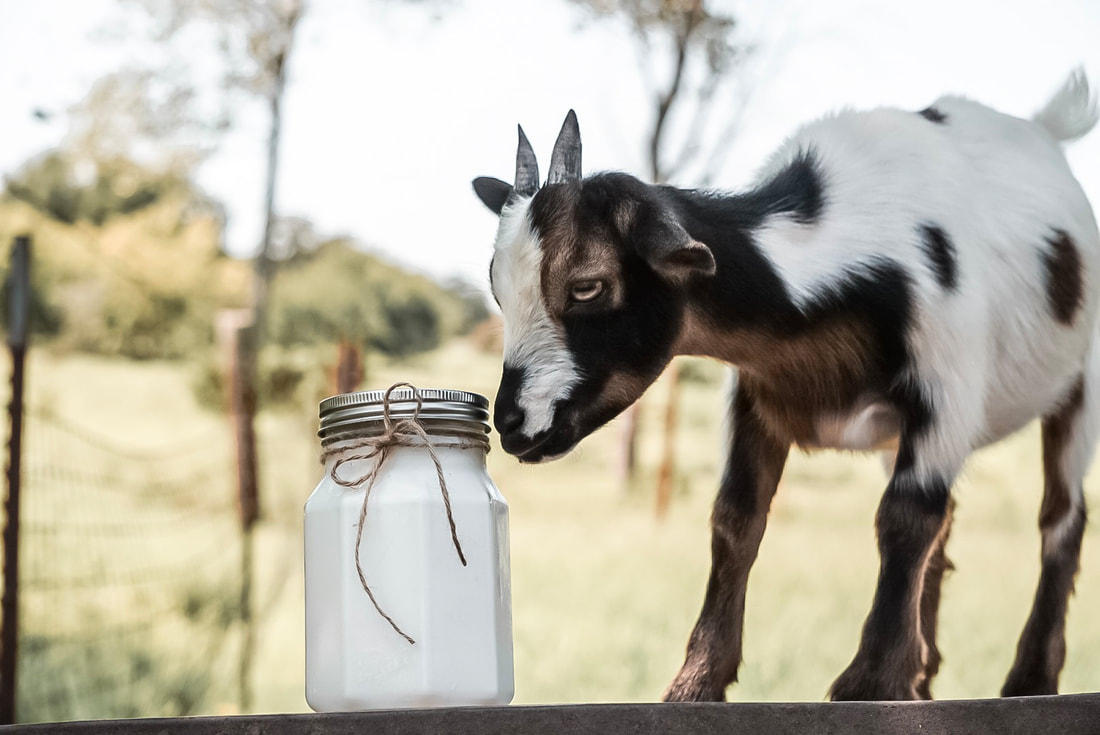
Ingredients1/2 Gallon of Milk
1 Cup of Yogurt {for starter} 1/2 Cup Coconut Flakes 1 Can Cream of Coconut InstaPot Thermometer Cheesecloth or Tea Towel Large Bowl or Pitcher DirectionsPour milk into instapot, shut lid, put lid on "Sealing". Press the YOGURT button until it says "Boil" on the screen. It should bring the milk to a temperature of about 180 degrees. Open lid after it is done {it will ding & screen will say yogurt when it is done boiling}. Remove the bowl & let milk cool to 110 degrees. I set it in my sink with cold water to speed up this process but you don't have to. Check with thermometer. Once milk is at 110, stir in 1 cup of yogurt for the starter. {If you don't wait until milk is at least down to 110 degrees before adding yogurt, it will kill the live cultures and the end result will not turn out right} Add coconut flakes & stir in. Put the lid back on, keep it on "Sealing" & press the YOGURT button until it says 8 hours {high} or 24 hours {low}. {8 hours is preferred, I actually set mine to 16 hours low because I started mine in the evening and I didn't want to get up in the middle of the night to finish making yogurt lol!} Once it is done the screen will say, "Yogurt". Line large bowl {I used a plastic pitcher} with a tea towel or cheesecloth & dump yogurt into there. Let it strain for about an hour. You want to drain the whey out of your yogurt, it will be a clear/yellowish liquid at the bottom. You can actually keep it and use it for many other things! So I stored mine in a mason jar :) After you've let it strain for an hour, scoop out yogurt into containers & put in fridge! You're all set! Thanks for reading & I hope you enjoy your delicious yogurt! If you do make it, please let me know how it turned out for you, or if you added your own twist! I'd love to see your pictures, so if you post please tag me @mikayla_beth or use the hashtag #HerrmannHomestead! 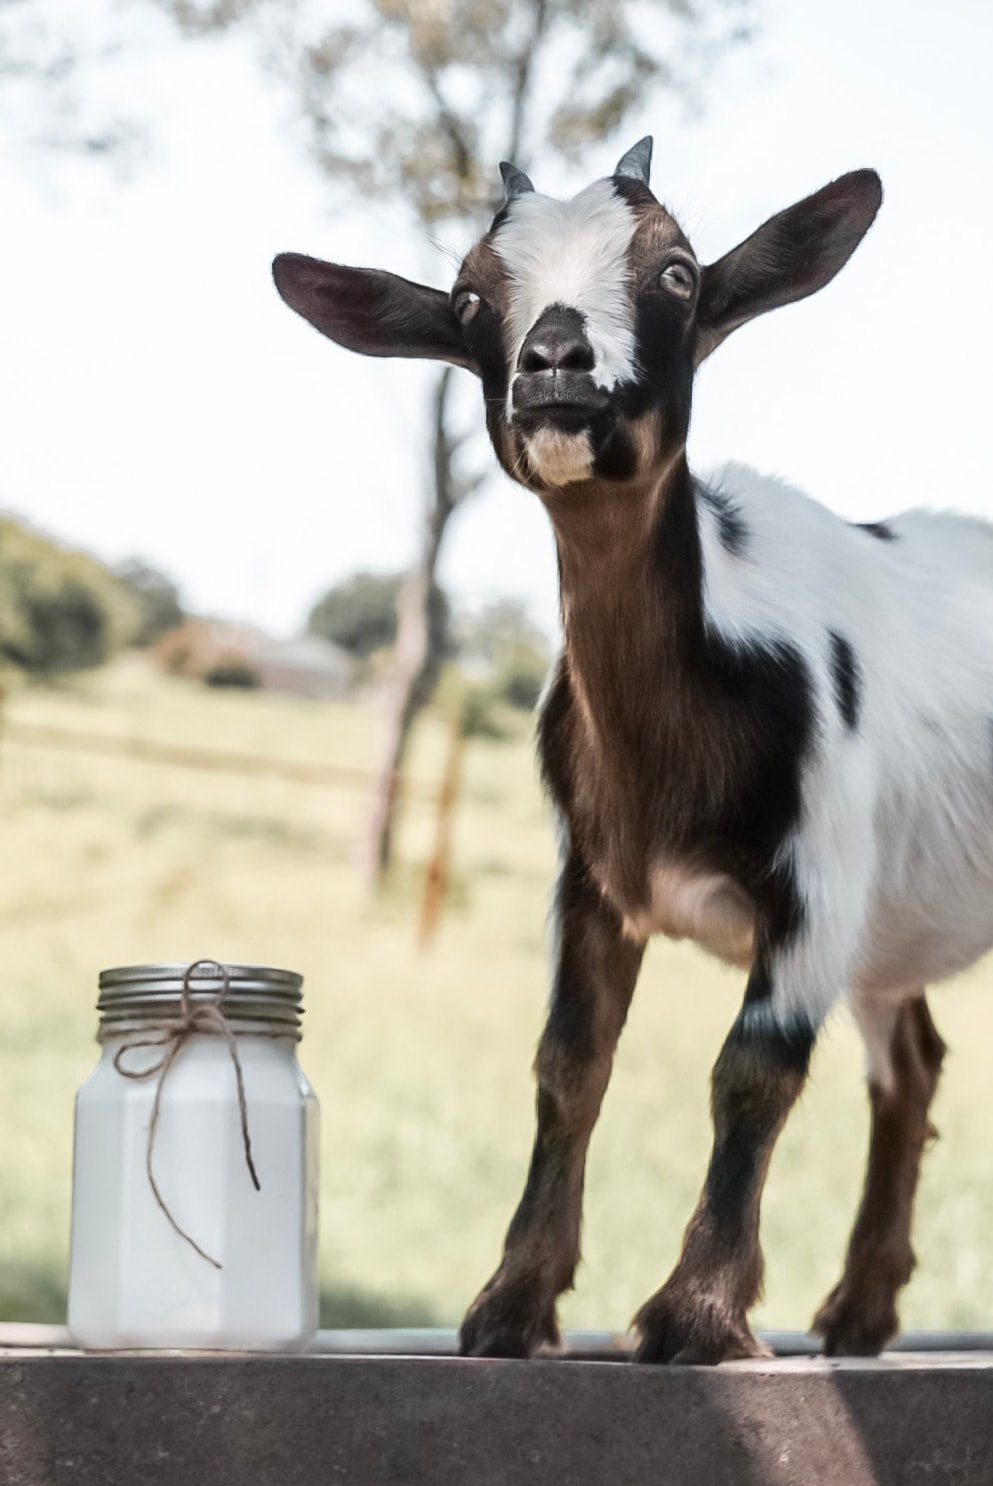 |
Follow us on Instagram:
Check out Samuel's
metal working instagram if you want custom metal signs or Farmhouse signs! He does a great job! :) |